 how-to
How to Prevent Ceramic Coating Streaks
Table of Contents
- Why Ceramic Coating Streaks Happen
- Ceramic Coating Surface Preparation Steps
- Application Technique to Prevent Streaks
- Environmental Factors and Lighting Control
- Ceramic Coating Curing Time in Cold Weather
- How to Remove Ceramic Coating High Spots
- Post-Application Maintenance to Maintain Clarity
- Frequently Asked Questions
Last Updated: September 1, 2026
Why Ceramic Coating Streaks Happen
Ceramic coating streaks form when the product isn't applied uniformly across the paint surface, leaving behind visible lines, hazing, or uneven coverage. The issue stems from application speed, product pooling, and improper buffing technique. When ceramic coating is applied too quickly or in overlapping sections without proper flash time between coats, the solvent-based formula pools in certain areas and doesn't bond evenly with the paint surface. As curing begins, these pooled areas harden differently than surrounding coating, creating visible streaks.
Humidity and temperature also play a significant role. If you're applying ceramic coating in conditions that are too cold or too humid, the flash time extends beyond product recommendations, allowing the coating to cure unevenly. Many applicators overlook inspection lighting during application, without proper illumination, you cannot see thin spots or gaps that become obvious once the coating fully cures. Technicians who cover large panels too quickly without adequate flash time create conditions for streaks. The coating needs time to level and bond properly before the next application or buffing step.
Ceramic Coating Surface Preparation Steps
Surface preparation is the foundation of streak-free ceramic coating application. If the paint isn't properly cleaned and decontaminated, no amount of careful application technique will prevent streaks. The coating bonds to whatever is on the paint surface, so any residue, contaminants, or oils will interfere with even coverage.
Begin with a thorough wash using pH-neutral car wash soap and clean microfiber wash mitts. Rinse completely and dry with a clean microfiber towel. This removes loose dirt but does not address bonded contaminants like industrial fallout, brake dust, or tree sap.
Decontaminate with Detailing Clay
Detailing clay removes bonded contaminants that regular washing cannot lift. Run your hand over the paint after washing, if it feels rough or gritty, contaminants are present. Use a clay bar with a lubricant spray designed for this purpose, working in small sections with light pressure and straight-line motions rather than circular ones. Rinse thoroughly after each section.
This step is often skipped by DIY enthusiasts, but it's critical. Contaminants left on the surface will create texture variations that ceramic coating will highlight rather than hide. Professional detailers understand that this step determines the final result's clarity and uniformity.
Use Isopropyl Alcohol for Final Wipe
After clay decontamination, use isopropyl alcohol (IPA) to remove any remaining residue, oils, and clay lubricant. IPA evaporates quickly and leaves no film behind, making it ideal for final surface preparation before coating application.
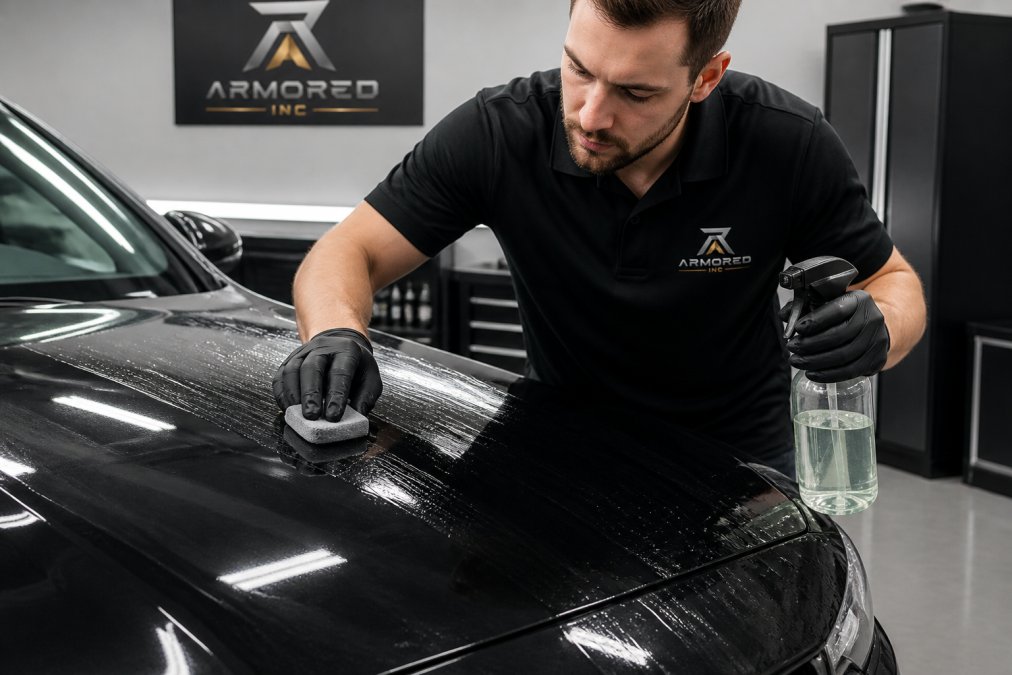
Apply IPA to a clean microfiber towel and wipe the entire surface using straight-line motions, panel by panel, with fresh towel sections as it becomes saturated. The goal is to remove all traces of previous products so the ceramic coating bonds directly to clean paint. Use 90% IPA or higher for faster evaporation and less residue. Allow the surface to dry completely before applying ceramic coating.
Application Technique to Prevent Streaks
How you apply ceramic coating matters as much as what you apply. Apply the coating using an applicator pad designed for ceramic products, avoiding foam pads that absorb too much product and apply it unevenly. The pad should be slightly damp with product, not dripping.
Work in small sections, roughly 30 centimetres by 30 centimetres, using consistent pressure and controlled application. Thicker application does not improve protection, it only increases the risk of streaks and hazing.
Cross-Hatch Pattern and Buffing Method
The cross-hatch pattern is the gold standard for streak-free ceramic coating application. Apply the coating in one direction (e.g., left to right), then buff it in the perpendicular direction (top to bottom). This overlapping pattern ensures uniform coverage and helps the coating level evenly.
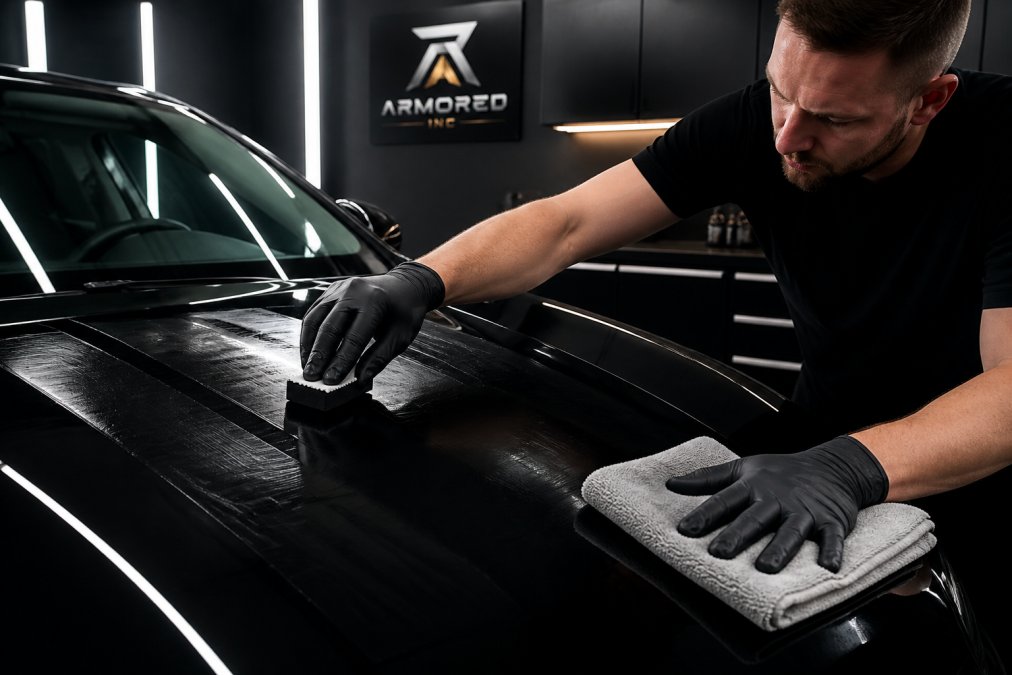
Apply the coating in horizontal passes across the panel using light, even pressure and consistent speed. Once you've covered the entire section, allow the flash time specified by your product, typically 10 to 15 minutes. After flash time, use a clean microfiber towel to buff the section in vertical motions. This cross-hatch technique prevents directional streaks that occur when you apply and buff in the same direction.
The microfiber towel you use for buffing matters significantly. Low-quality towels leave lint and fibers behind, creating texture and hazing. Use premium microfiber towels designed for automotive detailing, tightly woven towels that shed minimally ensure a clean final finish.
Flash Time and Microfiber Towel Selection
Flash time is the window between application and buffing when the coating begins to cure. Respecting flash time is non-negotiable for streak prevention. Every ceramic coating product has a recommended flash time, typically ranging from 5 to 20 minutes. Do not skip this step or shorten it. If you buff too early, the coating hasn't bonded sufficiently and you'll wipe off too much product. If you wait too long, the coating begins to harden and becomes difficult to level, creating streaks.
Invest in high-quality automotive microfiber towels with a pile height of 300-400 GSM. These towels absorb product uniformly and buff without leaving residue or lint. Use a separate clean towel for each panel or section. Reusing towels spreads residue and contaminants across the surface, creating uneven coverage and hazing.
Environmental Factors and Lighting Control
The environment where you apply ceramic coating profoundly affects the outcome. Temperature, humidity, and air circulation all influence how the coating bonds and cures.
Ceramic coating should be applied in temperatures between 15°C and 25°C (peer-reviewed research). Below this range, the bonding process slows dramatically, extending flash time and increasing the risk of uneven curing. Above 25°C, the solvent evaporates too quickly, causing the coating to begin curing before you've had time to apply and buff it evenly.
Humidity levels should be between 40% and 60% (peer-reviewed research). High humidity slows solvent evaporation and delays bonding, while low humidity accelerates it. Both extremes create conditions for streaking.
Proper lighting is essential during application. Use bright LED work lights positioned to illuminate the panel from multiple angles. This reveals any streaks, hazing, or high spots immediately, allowing you to address them before the coating fully cures. Many DIY enthusiasts apply ceramic coating without proper lighting, only to discover streaks once the coating has cured.
Ensure adequate air circulation in the workspace. Stagnant air traps solvent vapors and slows evaporation, which delays bonding. Open doors and windows or use fans to maintain gentle air movement. Avoid direct wind, which can cool the panel unevenly and accelerate curing in some areas while slowing it in others.
Ceramic Coating Curing Time in Cold Weather
Curing time extends significantly in cold weather, which is a reality for anyone applying ceramic coating in Ontario during fall and winter months. Ceramic coatings typically reach initial cure within 24 hours at 20°C, but full cure takes 7 days (peer-reviewed research). In cold weather below 10°C, initial cure can stretch to 48 hours or longer. During this extended curing window, the coating is vulnerable to moisture, dust, and physical disturbance.
Do not wash the vehicle for at least 7 days after ceramic coating application. In cold weather, extend this period to 10-14 days. The coating needs time to fully harden and bond with the paint. Premature washing introduces water and mechanical action that can disrupt the curing process.
In temperatures below 10°C, flash time extends significantly. A product that normally requires 10 minutes of flash time might need 20 or 30 minutes in cold conditions. If you're applying ceramic coating in cold weather, allow extra time between panels and spread the application across two or three days rather than rushing through it in a single day.
How to Remove Ceramic Coating High Spots
High spots are areas where excess ceramic coating has pooled and cured, creating raised, uneven texture that catches light at certain angles.
Identifying High Spots with Inspection Light
Use a bright LED inspection light to identify high spots after the coating has fully cured. Position the light at a low angle to the surface and move it slowly across the panel. Run your hand across the surface as well, high spots feel rough or bumpy compared to properly applied coating. Document the location of high spots before attempting removal so you know exactly where to focus your correction efforts.
Correction Methods After Curing
For minor high spots, use a polishing compound designed for ceramic coatings. Apply the compound to a microfiber applicator pad and work the high spot area in circular motions using light pressure. The goal is to level the high spot with the surrounding coating.
For more pronounced high spots, wet sanding may be necessary. Use 2000-grit sandpaper with water as a lubricant, sanding gently until the high spot is level with the surrounding coating. Once level, apply polishing compound to restore the gloss and remove any sanding marks. After removing high spots, apply a thin layer of ceramic coating to the corrected area to restore protection.
Many high spots can be prevented by proper application technique. Prevention is always preferable to correction because correcting high spots after curing is time-consuming and carries some risk to the underlying paint.
Post-Application Maintenance to Maintain Clarity
Maintaining ceramic coating clarity after application requires proper care and attention. Wash your vehicle regularly using pH-neutral car wash soap and a two-bucket method, one bucket for soapy water and one for rinsing your wash mitt. This prevents dirt from being reintroduced to the paint surface. Use a clean microfiber wash mitt and soft sponge, avoiding abrasive scrubbing.
Dry the vehicle immediately after washing using clean microfiber towels. Water spots can form if the vehicle air-dries, especially in hard water areas. Apply a ceramic coating maintenance spray every 3 to 6 months to refresh hydrophobic properties and extend the coating's life.
Avoid automatic car washes and brush-type wash systems, which can scratch the coating. Hand washing or touchless automatic washes are preferable. Park in covered areas whenever possible to minimize exposure to UV rays, bird droppings, tree sap, and other contaminants. If contamination occurs, remove it promptly using appropriate detailing products designed for ceramic-coated surfaces.
Preventing ceramic coating streaks begins before you apply a single drop of product. Proper surface preparation, correct application technique, environmental control, and quality tools determine whether your ceramic coating finish is flawless or marred by visible streaks and hazing. The process requires patience, attention to detail, and respect for flash times and curing windows. If you're protecting a luxury vehicle, marine vessel, or valued investment in the Barrie area, professional application eliminates guesswork. Armored Inc. specializes in ceramic coating application with expertise in matte paint protection film and automotive detailing. Our team understands Ontario's climate challenges and applies coatings using proper technique, premium materials, and controlled environments. Contact us for a consultation on ceramic coating protection for your vehicle or property.
| Application Step | Key Detail | Why It Matters |
|---|---|---|
| Clay Decontamination | Remove bonded contaminants before coating | Prevents texture variations in final finish |
| Isopropyl Alcohol Wipe | Remove all residue and oils | Ensures direct bonding between coating and paint |
| Cross-Hatch Application | Apply in one direction, buff in perpendicular | Prevents directional streaks and ensures uniform coverage |
| Flash Time Respect | Allow 10-20 minutes between application and buffing | Permits solvent evaporation and bonding to begin evenly |
| Inspection Lighting | Use bright LED lights during application | Reveals thin spots and uneven coverage immediately |
| Cold Weather Adjustment | Extend flash time and cure period | Prevents streaks from uneven curing in low temperatures |
Frequently Asked Questions
Why is my ceramic coating leaving streaks after application?
Streaks occur when excess product isn't buffed evenly, the surface wasn't properly decontaminated, or environmental conditions (humidity, temperature) prevent uniform curing. Improper flash time between application and buffing also causes visible residue. Using isopropyl alcohol for final surface prep and allowing adequate flash time before wiping with a quality microfiber towel eliminates most streaking issues.
How do I fix high spots in a ceramic coating once it has cured?
High spots appear as hazing or uneven gloss after the coating has fully cured. Use an inspection light to identify affected areas, then apply a polishing compound with a soft buffing pad to gently level the surface. For stubborn residue, light machine polishing with a ceramic-safe compound works, but avoid aggressive methods that damage the underlying paint. Professional correction ensures the coating's protective properties remain intact.
Does humidity in Ontario affect ceramic coating application?
Yes. High humidity slows the chemical reaction needed for proper bonding and leveling, extending flash time and increasing streak risk. Cold, damp conditions common in Ontario require longer curing periods and careful environmental control. Apply ceramic coating in a controlled space with temperature between 15-25°C and humidity below 60% when possible. Monitor weather forecasts to avoid application during rainy or excessively humid days.
What is the best lighting for applying ceramic coating to avoid streaks?
Use bright, even inspection lighting (LED work lights or natural daylight) positioned at a low angle across the panel. This reveals streaks, hazing, and high spots immediately, allowing real-time correction. Avoid direct sunlight, which can cause premature flash and uneven curing. Proper lighting is essential during both application and the buffing phase to catch residue before it hardens.
This article was written using GrandRanker