 how-to
How to Apply Ceramic Coating to a Boat Hull Step by Step
Table of Contents
- How to Apply Ceramic Coating to a Boat Hull Step by Step
- What You'll Need Before You Start
- How to Prepare a Boat for Ceramic Coating
- Boat Ceramic Coating Tools and Supplies
- Step-by-Step: Applying the Coating to the Hull
- Boat Ceramic Coating Curing Time
- Ceramic Coating vs Wax for Boats
- Common Mistakes to Avoid
- Maintaining a Coated Hull
- Frequently Asked Questions
Last Updated: October 12, 2026
How to Apply Ceramic Coating to a Boat Hull Step by Step
Learning how to apply a boat hull coating step by step is the single best way to protect your investment from Ontario's harsh sun, acid rain, and the constant moisture of lake life. At Armored Inc. in Barrie, we've watched too many owners spend a full weekend on a wax job, only to see it fade within weeks. Ceramic coating is different. It's a liquid polymer that chemically bonds to your hull's gelcoat, creating a hard, hydrophobic layer that shrugs off water, UV rays, and stains. Below, we break down the exact process, from prep to cure, so you can get a finish that lasts for years instead of weeks.
The 8-step process we cover takes most owners a full day, but the result is a hull that stays cleaner and shines longer. But first, here's what most guides get wrong: they skip the prep. That's a mistake you can't undo once the coating is on.
What You'll Need Before You Start
Before you touch the hull, gather your tools and pick the right day. Ceramic coating needs a clean, shaded space and dry weather. Direct sun makes the product flash too fast, and wind blows dust onto wet coating. Most DIYers underestimate how much prep work is involved, so set aside a full day.
Total Time: 6-10 hours (including prep and cure time) Difficulty: Intermediate
Here's your basic checklist:
- Boat wash and degreaser
- Iron and mineral remover
- Clay bar or clay mitt
- Surface prep spray (panel wipe)
- Ceramic coating kit with applicator
- Nitrile gloves and microfiber towels
- Polisher and compound (for oxidation)
- Painter's tape for trim and hardware
If the hull has heavy oxidation or deep scratches, you'll need polishing compounds and a dual-action polisher. Skipping this step means the coating locks in a dull, chalky finish.
How to Prepare a Boat for Ceramic Coating
Preparing a boat for ceramic coating is 70% of the job. The coating itself is the easy part. If your hull isn't perfectly clean and smooth, no coating will save it.
Washing, Decontamination, and Rinsing
Start with a thorough wash using a pH-neutral boat soap. Work top to bottom, then rinse. Next, apply an iron and mineral remover to break down rust particles and lake minerals. Follow with a clay bar to pull out embedded grime the wash missed. Rinse everything again and dry with clean microfiber towels.
The surface should feel glass-smooth after claying. If it feels gritty, repeat the clay step.
Handling Oxidation and Surface Scratches
Oxidation is the chalky, dull look on older gelcoat. You can't coat over it. Use a dual-action polisher with a cutting compound to remove the oxidized layer, then follow with a finishing polish. For light scratches, a polish alone often does the trick. For deep gouges, you may need wet sanding first.
Once polished, wipe the hull down with a surface prep spray. This removes oils and polish residue that would stop the coating from bonding.
Boat Ceramic Coating Tools and Supplies
The right tools make the difference between a smooth, even coat and a streaky mess. You don't need a professional kit, but you do need quality applicators. Cheap foam blocks shed and leave lint in the coating.
Here's what a solid kit looks like:
| Tool | Purpose | Why It Matters |
|---|---|---|
| Suede applicator block | Applies coating evenly | Prevents streaks and high spots |
| Nitrile gloves | Protects skin | Coating bonds to skin and is hard to remove |
| High-pile microfiber | Levels coating | Removes excess before it cures |
| Painter's tape | Masks trim | Keeps coating off non-gelcoat surfaces |
| Surface prep spray | Final wipe | Removes oils that block bonding |
Work in a shaded area. If you're outdoors, use a pop-up canopy. Direct sun makes the coating cure before you can level it.
Step-by-Step: Applying the Coating to the Hull
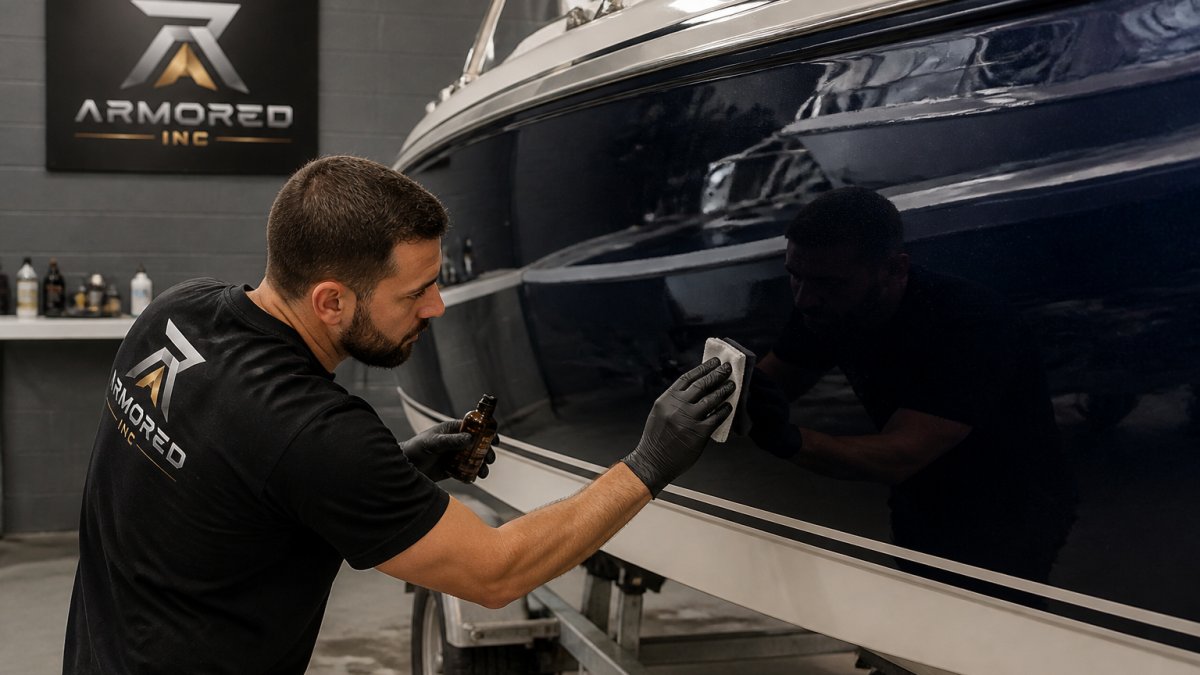
Applying ceramic coating to a boat hull is a simple process, but timing matters. Work in small sections, usually 60 by 60 centimeters at a time. This gives you enough room to spread the product without it flashing before you level it.
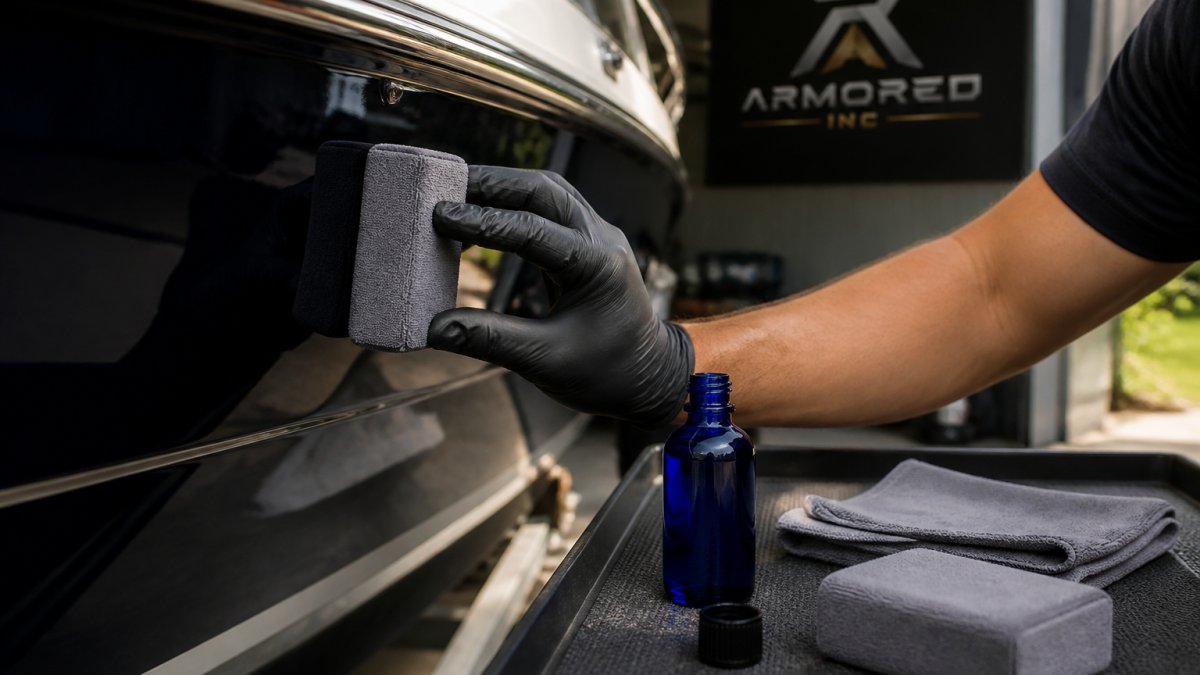
- Wrap the suede applicator around the block.
- Apply 4-6 drops of coating to the suede.
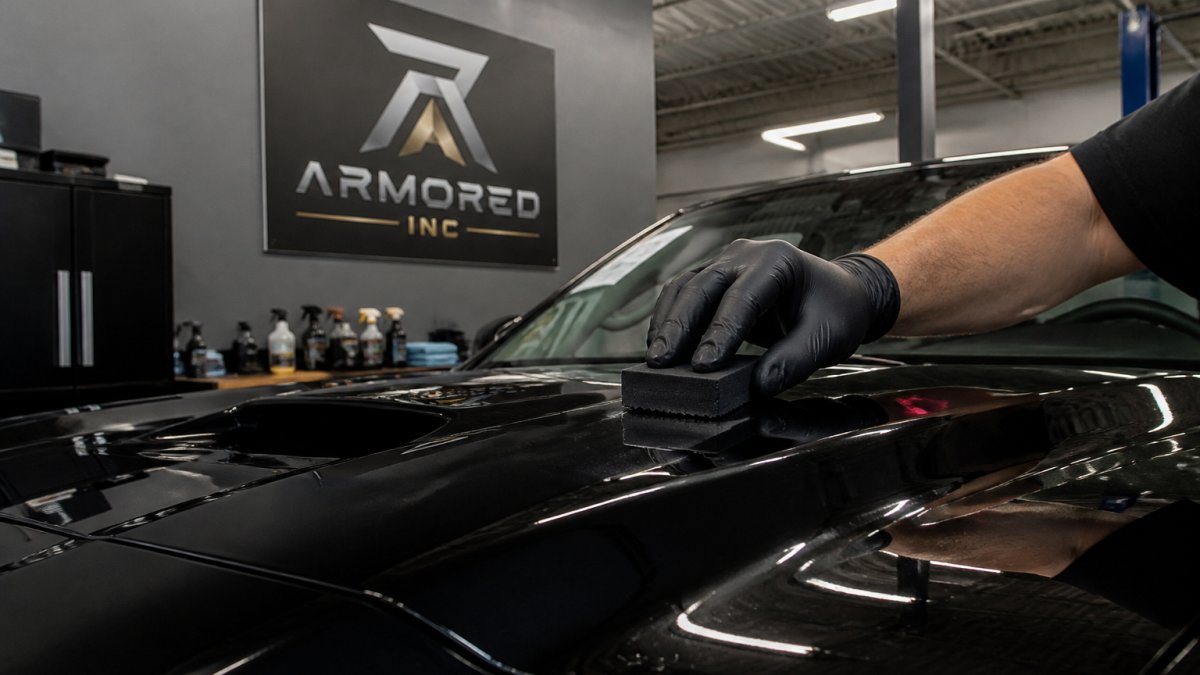
- Wipe in straight lines, overlapping each pass.
- Let the coating flash for 30 seconds to 2 minutes.
- Buff off with a clean microfiber towel.
- Move to the next section.
Working in Sections and Leveling the Coating
Leveling is the step most DIYers rush. After the coating flashes, it leaves a rainbow-like film. That film must be wiped off before it cures, or you'll get high spots that look cloudy. Use a bright light to check each section as you go.
If you're coating a large hull, break it into four zones: bow, port side, starboard side, and stern. Finish one zone before starting the next. Don't try to coat the whole boat in one pass.
Boat Ceramic Coating Curing Time
Boat ceramic coating curing time depends on temperature and humidity, but most coatings need 24 hours to fully dry and 5-7 days to reach full hardness. During that window, keep the boat out of the water and away from rain.
Here's a rough guide for cure stages:
| Stage | Time | What's Happening |
|---|---|---|
| Touch dry | 1-2 hours | Coating stops being tacky |
| Rain-safe | 24 hours | Won't wash off in light rain |
| Full cure | 5-7 days | Maximum hardness and hydrophobicity |
If you're in Barrie and coating in cooler weather, add extra cure time. Cold slows the chemical reaction. A heated garage speeds it up.
Ceramic Coating vs Wax for Boats
Choosing a boat hull coating versus wax comes down to durability. Wax lasts a few weeks in Ontario's sun and rain. A quality ceramic coating can hold up for years with proper care. That's why most owners who switch never go back.
Wax is cheaper upfront and easier to apply. But you'll reapply it every month or two. Ceramic coating costs more and takes a full day to apply, but it saves you dozens of hours over a season.
Here's the honest breakdown:
- Wax: Best for quick touch-ups and short-term shine
- Ceramic coating: Best for long-term protection and easier cleaning
- Hybrid products: A middle ground, but they don't last as long as true ceramic
For boats kept in the water year-round, ceramic coating is the clear winner.
Common Mistakes to Avoid
Most coating failures come down to three mistakes. Avoid these and your finish will last.
- Coating in direct sun. The product flashes before you can level it.
- Skipping the prep wipe. Oils from polish stop the coating from bonding.
- Applying too much product. More isn't better. Thin, even coats work best.
A common mistake is trying to coat the entire hull in one go. Work in sections and take breaks. Rushing leads to high spots and streaks.
Maintaining a Coated Hull
Maintenance is simple once the coating cures. Wash with a pH-neutral soap every few weeks. Avoid abrasive brushes and harsh cleaners. A quick rinse after every use keeps the surface slick and hydrophobic.
Reapply a ceramic boost spray every few months to refresh the slickness. If you'd rather not handle the full process yourself, our team at Armored Inc. offers professional ceramic coating for marine vessels across Barrie and the surrounding area. We also provide mobile service and valet options, so your boat gets the same care as your car without you leaving the dock.
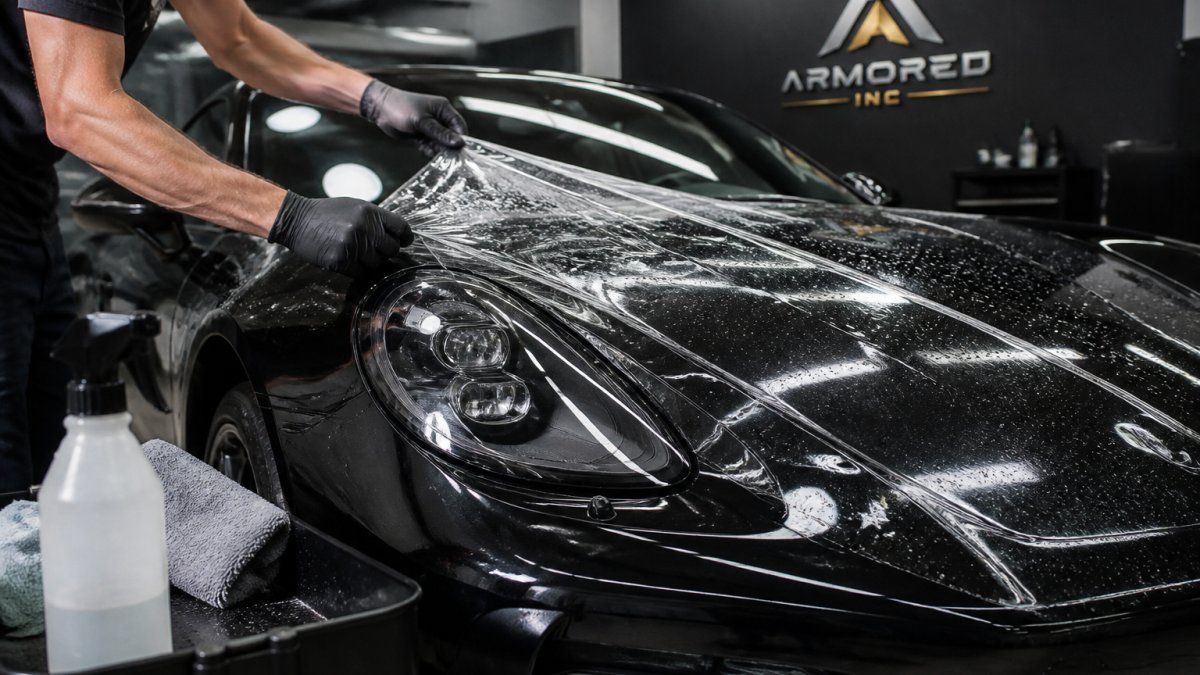
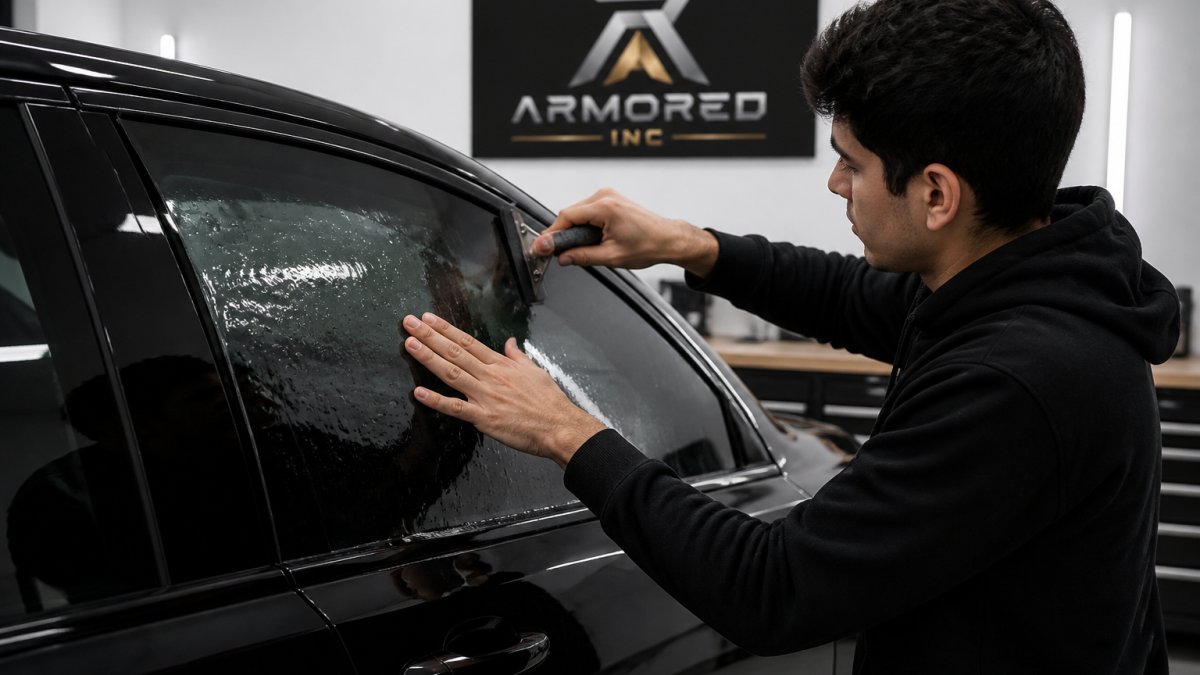
For owners looking to protect other surfaces, our paint protection film and window tinting services round out a full protection plan.
Frequently Asked Questions
Can you apply ceramic coating to a boat hull yourself?
Yes, a DIY application is possible if you have a shaded workspace, the right tools, and patience for the prep work. The coating itself is the quick part; washing, decontaminating, and correcting the gelcoat usually take the longest. If your hull is heavily oxidized or you want a multi-year result, a professional boat hull coating service is often the safer choice because surface prep decides how well the coating bonds and how long it lasts.
How do you prepare a gelcoat hull for ceramic coating?
Start with a pH-neutral wash, then remove tar, salt, and mineral deposits with a dedicated boat decontaminant. Clay the hull to pull out embedded particles, rinse, and dry fully. If the gelcoat is chalky or dull, compound and polish it until the surface is smooth and reflective, then wipe with an IPA panel prep. Skipping the polish step on oxidized gelcoat is the most common reason a coating fails early.
How long does boat ceramic coating take to cure?
Most coatings skin over within a few hours, but full curing takes several days. Keep the hull dry and out of direct sun for at least 24 hours, and avoid washing or launching for about 7 days so the coating can fully cross-link. Cold or humid weather in Ontario can stretch that window, so check the product's technical data sheet and add buffer time in spring and fall.
Is ceramic coating better than wax for a boat?
Wax gives a warm gloss and takes an afternoon to apply, but it breaks down in weeks under UV and salt exposure. A ceramic coating bonds to the gelcoat and typically lasts a season or longer, with better water beading and easier cleaning. If you haul out and re-wax every few weeks, wax is fine. If you want less maintenance and stronger UV protection, ceramic coating vs wax for boats clearly favors ceramic.
Protecting a boat hull in Ontario's climate takes more than a weekend wax job. It takes a proper coating applied the right way, with the right prep and the right cure time. If you'd rather leave it to a team that does this every day, Armored Inc. brings professional-grade ceramic coatings, mobile service, and valet options right to you. Get started with Armored Inc. and give your hull the protection it deserves.