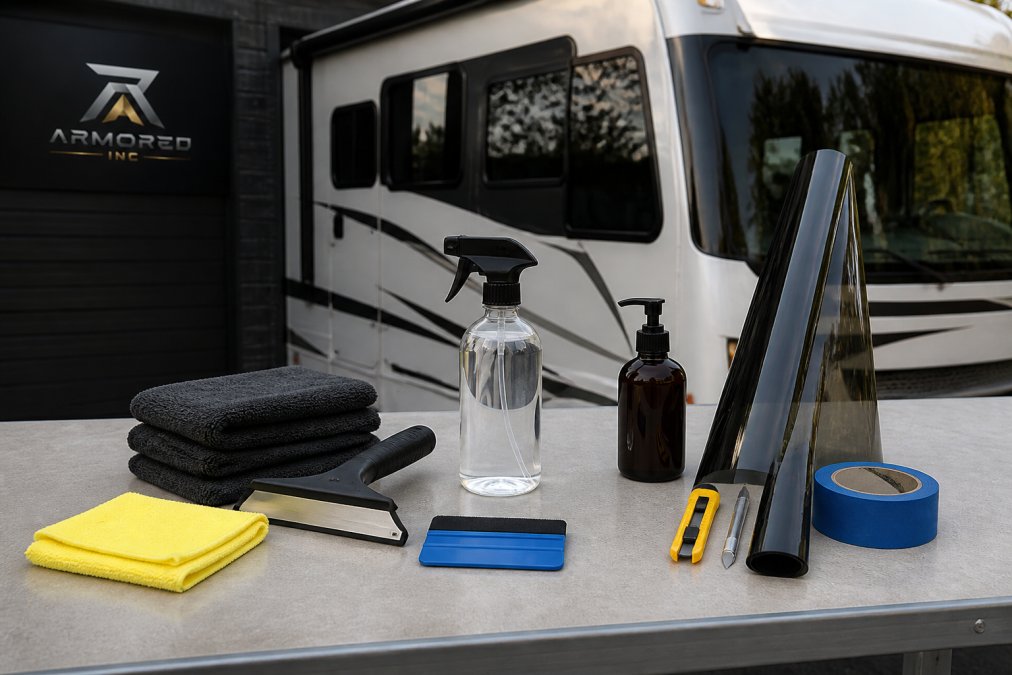
 listicle
7 Ways to Maintain RV Window Tint for UV Protection
Table of Contents
- Why RV Window Tint Needs Regular Maintenance
- How to Clean Ceramic Window Tint Without Damaging It
- Protect the Film Through Canadian Winters
- Signs of Failing Window Tint to Watch For
- Match Your Maintenance to RV Window Materials
- Know the Ontario Tint Rules Before You Adjust or Replace Film
- When to Book Professional RV Window Tinting in Barrie
- Frequently Asked Questions
Last Updated: September 22, 2026
Why RV Window Tint Needs Regular Maintenance
RV window tint is a thin film bonded to your glass that blocks UV rays, cuts heat, and holds your interior together. It needs care because the adhesive layer and the film itself degrade when dirt, chemicals, and sunlight attack them.
That protection is doing more work than most owners realize. Your dashboard, dinette upholstery, and vinyl flooring take direct sun through large, often untinted-from-factory windows.
How to Clean Ceramic Window Tint Without Damaging It
Clean ceramic window tint with an ammonia-free cleaner and a soft microfiber cloth, wiping gently in one direction. Avoid paper towels, abrasive pads, and any product containing ammonia or alcohol, which break down the adhesive layer and cause hazing.
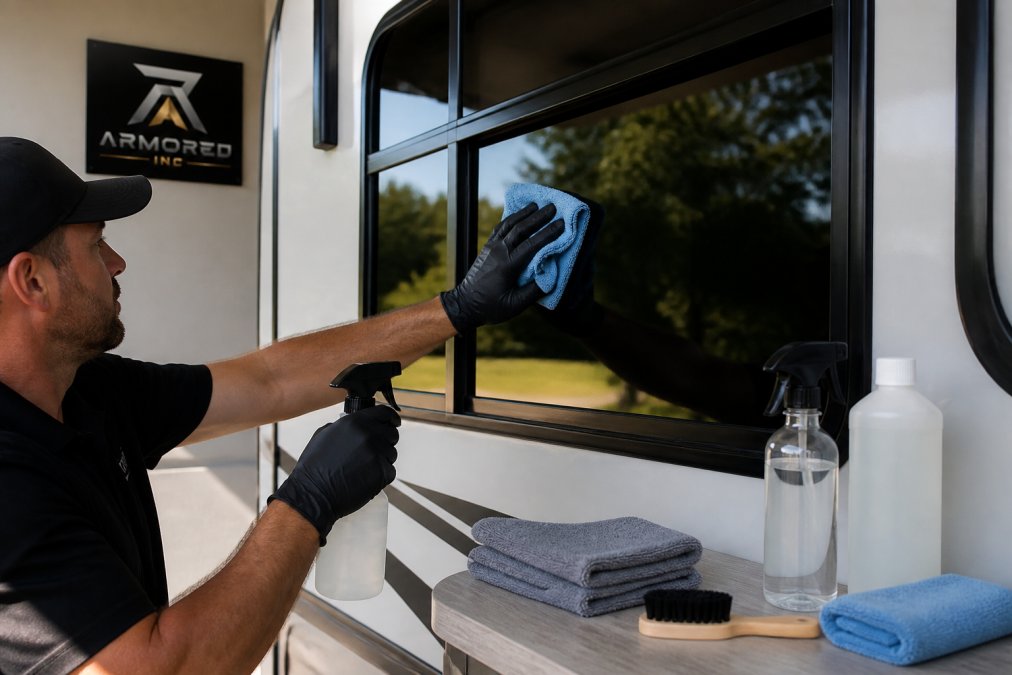
Safe Cleaners and Tools for Tinted RV Glass
Ammonia-free glass cleaners are the baseline. Products like Invisible Glass tint-safe cleaner and Rain-X's tint-safe formula are widely available in Canada and formulated not to attack film.
Your tool kit should include:
- Two or three plush microfiber cloths, kept separate from your wash rags
- A small squeegee with a soft vinyl edge for large flat-glass panes
- A spray bottle of distilled water for light dusting between full cleans
Protect the Film Through Canadian Winters
Winter in Barrie and across South Simcoe is the hardest season on RV window tint, and the damage rarely shows up until the spring thaw. Road salt, ice scrapers, and repeated freeze-thaw cycles all attack the film, but the mechanism matters if you want to prevent it rather than just react to it.
A few habits prevent most winter damage:
- Use a de-icer spray and a soft snow brush instead of a scraper on tinted panes
- Park with the tinted side facing away from prevailing wind where you can
- Rinse salt film off the glass at a touchless wash after highway driving, and never wipe a dry, salty window
- Check edges monthly for lifting, and press down gently if you spot a small lift
- Keep the cab and living area above freezing during storage so condensation does not form behind the film
Why Freeze-Thaw Cycles Matter More Than Cold
Window tint adhesive is pressure-sensitive. It bonds best at moderate temperatures and gets brittle when the glass drops below freezing. In an Ontario winter, a tinted pane can swing from -20 C overnight to above freezing in direct sun within a few hours, and that expansion and contraction works the adhesive at the edges.
Spring Inspection After a Canadian Winter
When the snow clears, do a full walk-around before your first trip. Check every tinted pane for lifted edges, trapped moisture, and hazy patches that did not clean off. Run a fingernail gently along the bottom edge and corners, where freeze-thaw damage shows first. If the film lifts easily, the adhesive has already failed and a professional repair is cheaper than waiting for a full replacement.
Signs of Failing Window Tint to Watch For
Failing window tint shows up as bubbling, purple or brown discoloration, peeling edges, hazy patches, and a noticeable drop in heat rejection. Catching these early usually means a repair; ignoring them means a full replacement.
What Long-Term UV Degradation Looks Like
UV degradation is slow and easy to miss. The film gradually loses its ability to reject infrared and UV, so the cabin feels hotter than it used to even though the tint still looks dark.
Watch for these signs:
- Fading or purple tint on what was once a neutral gray or charcoal film
- Interior fading on upholstery and dash surfaces that should still be protected
- Hazing that will not clean off, indicating the film surface has broken down
- Delamination where the film separates from the glass in sheets Degradation of these protective barriers often mirrors the damage seen on other exposed surfaces, highlighting why boat owners must also protect electronics from sun to prevent similar structural failure.
Match Your Maintenance to RV Window Materials
Not every RV window is the same glass, and the film on it needs different care depending on what is underneath. This is the section most generic tint guides skip, and it is where RV owners in Barrie get into trouble, because a cleaning routine that is safe on tempered glass can permanently scratch an acrylic pane.
| Window Material | Cleaning Approach | Main Risk |
|---|---|---|
| Tempered glass | Tint-safe cleaner, microfiber, soft squeegee | Edge lifting |
| Acrylic windows | Microfiber only, no squeegee, no ammonia | Surface scratching and hazing |
| Polycarbonate windows | Microfiber and plain water or plastic-safe cleaner | Clouding and chemical damage |
| Curved automotive glass | Gentle wiping, check edges often | Peeling at curves |
How to Tell What Your RV Windows Are Made Of
If you are unsure what your windows are made of, a tint professional can identify the material and recommend the right film and care routine. You can also check a few clues yourself:
- Sound: Tapping tempered glass gives a sharp, ringing tone; acrylic gives a duller, plasticky thud.
- Edge appearance: Tempered glass has a clean, greenish or clear edge; acrylic edges often look slightly cloudy or have a visible seam.
- Weight and flex: Acrylic panes are noticeably lighter and will flex slightly under gentle hand pressure; glass will not.
- Manufacturer documentation: Your RV owner's manual or the window maker's label usually states the material, and this is the most reliable source.
Why Film Choice Depends on the Window
Ceramic film is the best match for tempered glass because it rejects UV and infrared without relying on metal layers that can interfere with signals. On acrylic and polycarbonate, the film choice matters even more, because some adhesives bond too aggressively to plastic and become impossible to remove without damaging the pane. A professional installer will match the film to the substrate rather than using the same roll on every window.
Know the Ontario Tint Rules Before You Adjust or Replace Film
Ontario sets limits on how dark tint can be on certain vehicle windows, and RV owners should confirm the current rules before changing film. Rules differ for front side windows versus rear and passenger-area glass.
When to Book Professional RV Window Tinting in Barrie
Book professional RV window tinting in Barrie when you need full replacement, when edges keep lifting after DIY repairs, or when you want maximum UV and heat rejection from ceramic film. Installation quality drives how long the tint lasts.
Frequently Asked Questions
Can I use ammonia-based cleaners on my RV window tint?
No. Ammonia attacks the adhesive layer that holds tint film to glass, which speeds up peeling, bubbling, and discoloration. Use an ammonia-free product instead, such as Invisible Glass Tint Safe or a tint-safe Rain-X formula, paired with a clean microfiber cloth. If you are unsure about a product, check the label for ammonia or ask the shop that installed your film. For ceramic window tint, a mild soap and water mix also works for routine cleaning.
How do I clean RV window tint without damaging it?
Start with a soft microfiber cloth and a tint-safe, ammonia-free cleaner. Spray the cloth rather than the film, then wipe gently in one direction. Avoid paper towels, abrasive pads, and scrubbing at the edges where the film meets the window seal. For heavier grime, a diluted mix of mild soap and water loosens dirt first. Rinse with a clean, damp cloth and dry with a second microfiber towel to prevent streaks and water spots.
Does UV protection tinting fade over time on RV windows?
Quality ceramic films hold their UV-blocking performance far longer than inexpensive dyed films, which can fade within a few seasons. Even good film eventually shows age. Watch for a purple or gray shift in color, reduced clarity, or a film that no longer rejects heat the way it did when new. Those are signs of failing window tint and a cue to have the film inspected.
What are the benefits of ceramic window tint for RVs in Ontario?
Ceramic film blocks up to 99% of UV rays and rejects a large share of infrared heat without needing a dark shade. That protects upholstery, dash surfaces, and trim from interior fading, and it cuts glare on long highway drives. It is also non-metallized, so it does not interfere with GPS, cell, or Wi-Fi signals. In Ontario's temperature swings, ceramic film holds up better than dyed alternatives against cracking and color shift.
How often should I inspect my RV window tint for peeling?
Check the film at least twice a year, ideally in spring after winter storage and again before the cold season. Run your fingers along the edges of each window and look for lifting corners, trapped moisture, or small bubbles. Pay extra attention to windows that face the sun most of the day. Catching a lifted edge early usually means a simple repair; leaving it through a freeze-thaw cycle often means the whole pane needs re-tinting.