 how-to
What Is Paint Correction for Classic Cars? A 2026 Guide
Table of Contents
- What Is Paint Correction for Classic Cars?
- Paint Correction on Older Paint: What Changes with Age
- The Paint Correction Process, Step by Step
- Single-Stage Paint Correction: Working Safely on Unclear-Coated Finishes
- Paint Correction vs Ceramic Coating: What Each One Does
- Barrie and Simcoe County Conditions That Affect Classic Car Paint
- DIY or Professional? A Decision Guide for Classic Car Owners
- Frequently Asked Questions
Last Updated: October 17, 2026
What Is Paint Correction for Classic Cars?
Paint correction removes surface defects from automotive paint by machine polishing the top layer to restore clarity, gloss, and reflection.
The key point most guides skip: correction removes material, it does not add protection. Every pass takes away paint, and on a vintage vehicle that paint may be original and irreplaceable.
So the goal is not a mirror finish at any cost. The goal is the best finish the paint can safely give.
How Correction Differs from a Wash and Wax
A wash and wax cleans the surface and adds a protective layer on top. Correction goes deeper. It removes the defects themselves.
- Wash and wax: removes dirt, adds shine, hides small flaws for a while
- Paint correction: removes swirl marks, hazing, and light scratches from the paint itself
- The result: real clarity and depth, not a temporary cover-up
Paint Correction on Older Paint: What Changes with Age
Classic paint is often thinner, more brittle, and less forgiving than modern clear-coated finishes. Before any polisher touches a vintage panel, know what you are working on, the plan for original single-stage lacquer is completely different from the plan for a 1990s clear-coated repaint.
Identify the Paint Type First
Most classic-car paint falls into one of four categories, and each behaves differently under a polisher:
- Original single-stage paint. Color with no clear coat. Common on pre-1980s vehicles. Polishing releases pigment onto the pad, which means every pass removes color itself. This is the most delicate category and the one where preservation matters most.
- Older clear-coated repaints. A color base with a clear top layer, often applied in the 1980s or 1990s. The clear coat may be thinning, hazing, or beginning to fail at edges and horizontal panels.
- Modern clear-coated repaints. A base/clear finish applied more recently. More material to work with, but still finite.
To check for single-stage paint, polish a small hidden spot with a white cloth. Color on the cloth means no clear coat; a clean cloth means clear-coated. Test more than one panel, a car with a repainted door and original fenders can be a mix of both.
Read the Defects Before You Read the Polisher
Oxidation shows up as a chalky, dull, faded look and usually polishes away, but heavy oxidation means the paint has already lost material. On single-stage paint, it is often the top layer of pigment breaking down, polishing it off restores gloss but removes the most weathered material.
Watch for these warning signs before you touch a polisher:
- Cracking or crazing in the finish
- Faded or peeling edges and panel gaps
- Bubbling or lifting paint
Measure Paint Thickness Where It Matters
A paint thickness gauge gives you a number to work from, and on a classic car that number is your safety limit, you cannot add paint back.
A common pattern is that horizontal surfaces (hood, roof, trunk) have weathered the most and read thinnest, while vertical panels retain more material. If readings are low or uneven across a panel, ease off or skip correction on that panel entirely.
Run a Test Spot Before You Commit
The test spot is the most important step in classic-car correction. Choose a small, inconspicuous area, a lower door section or a spot under the trunk lid, and try your least aggressive pad and polish combination first.
On original single-stage paint, a test spot also tells you how much pigment the pad is releasing. A light tint on the pad is normal.
Preservation-First Assessment: The Classic-Car Rule
On a modern daily driver, the goal is the best possible finish. On a classic, it is the best finish the original paint can safely give, sometimes that means accepting some defects. A survivor with original paint and honest patina is often worth more preserved than perfected. If the paint is original, thin, or irreplaceable, correct the least amount of material needed and leave the rest alone.
The Paint Correction Process, Step by Step
The process follows a fixed order. Skipping steps is how paint gets damaged.
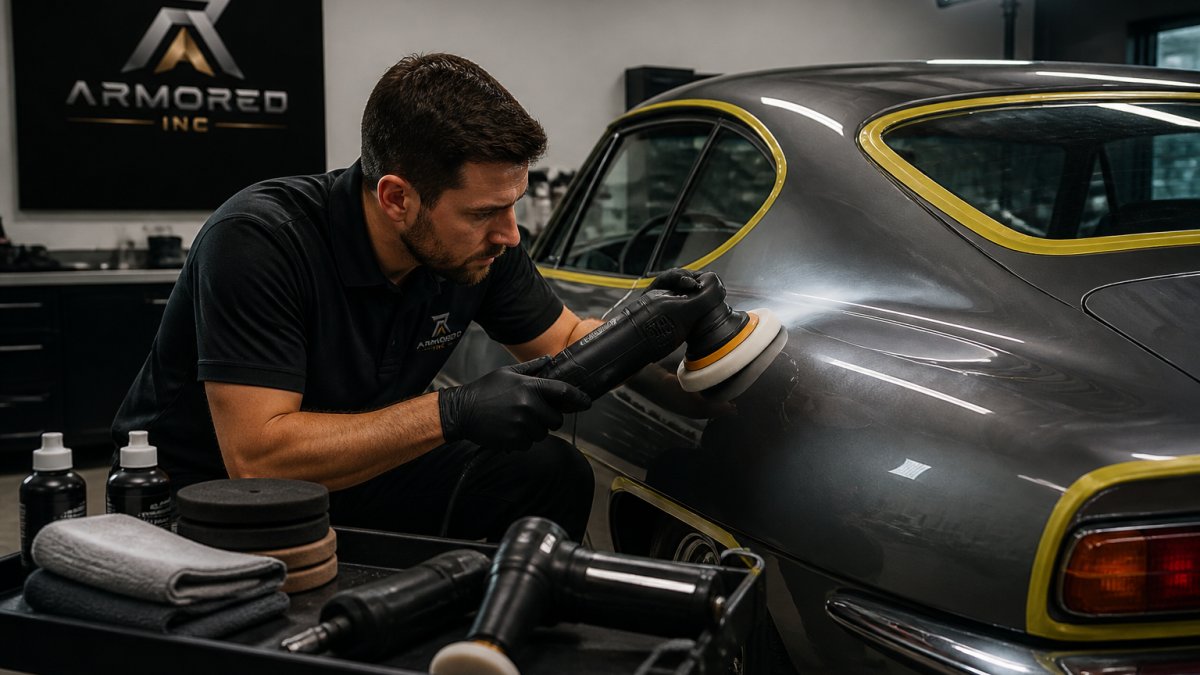
- Wash and decontaminate. Remove dirt, tar, and bonded contaminants so grit does not get dragged across the paint.
- Inspect under proper light. Use bright, angled lighting to find every defect.
- Take paint thickness readings. A gauge tells you how much material you have to work with.
- Run a test spot. Try your pad and polish combo on one small area first.
- Polish in stages. Start with a cutting step if needed, then refine with a finishing polish.
- Wipe down and re-inspect. Check the result before moving to the next panel.
- Protect the finish. Apply wax, sealant, or a coating once correction is done.
Inspection, Test Spot, and Paint Thickness Checks
The test spot tells you how the paint responds before you commit to a whole panel. A paint thickness gauge gives you a number to work from, if readings are low or uneven, ease off. You cannot add paint back.
| Step | What You Do | Why It Matters |
|---|---|---|
| Inspection | Find defects under bright light | Shows what needs fixing |
| Thickness check | Measure paint depth | Sets your safety limit |
| Test spot | Try one small area | Confirms the combo works |
| Correction | Polish in stages | Removes defects safely |
| Protection | Apply wax or coating | Locks in the result |
Single-Stage Paint Correction: Working Safely on Unclear-Coated Finishes
Single-stage paint correction needs a lighter touch than clear-coated work. With no clear layer to absorb the polishing, every pass cuts directly into the color, which changes your pad, polish, machine speed, and, most importantly, when you stop.
Match the Pad and Polish to the Paint
Single-stage paint varies widely in hardness. Older lacquer and enamel tend to be softer and more heat-sensitive than modern urethane, but a weathered surface can be surprisingly hard where oxidation has cured. Start with the least aggressive combination that will do the job:
- Soft foam finishing pad with a fine polish for light oxidation, haze, and swirl marks. This is the default starting point on original paint.
- Medium foam polishing pad with a medium polish only if the test spot shows the finish needs more cut. Step back down to a finishing pad for the final pass.
- Avoid heavy cutting pads and aggressive compounds on original single-stage paint unless a test spot proves the film thickness can take it. On a thin original panel, there may not be enough material for a multi-stage cut-and-refine process.
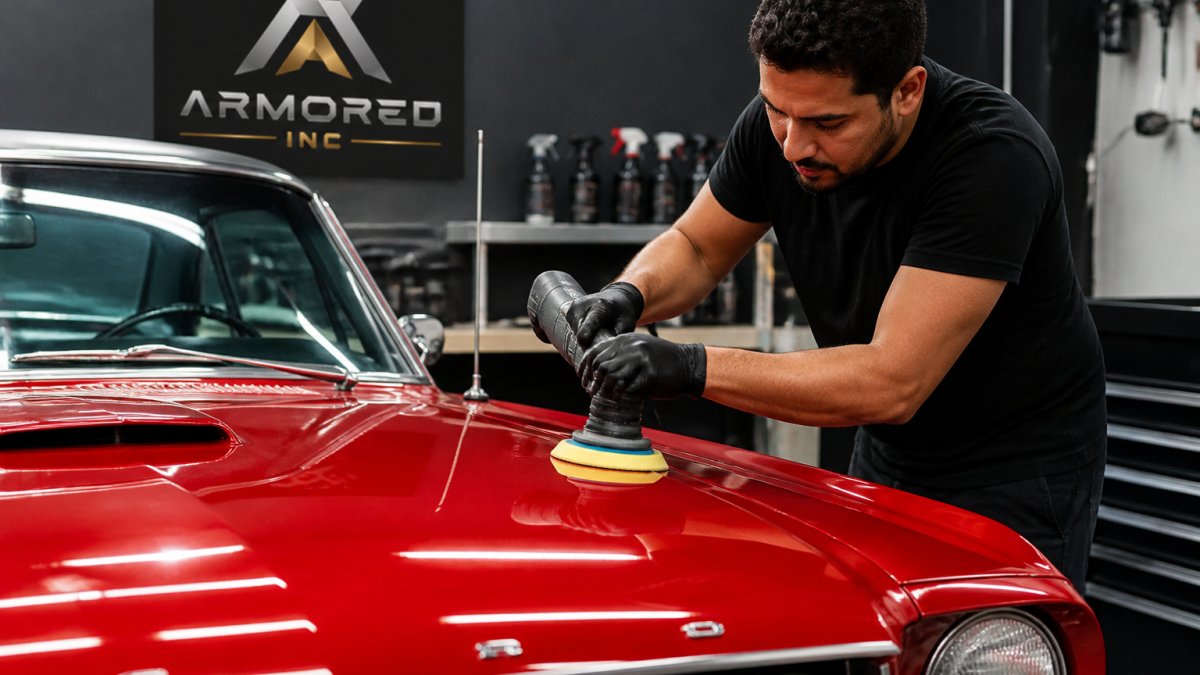
Use a dual-action polisher rather than a rotary, a DA is far more forgiving and generates less heat, which matters on older paint. Keep the speed moderate and use light-to-moderate pressure, letting the pad and polish do the work.
Work in Small Sections and Check Progress Often
Work one small section at a time, roughly a 40 to 50 cm square, and check progress under bright, angled light before moving on.
Keep the polisher moving and avoid dwelling in one spot. Heat buildup is the main risk on older paint, and a DA polisher held in one place can generate enough friction to soften or mar a delicate finish.
Know When to Stop
The hardest skill in single-stage correction is knowing when to stop. On a clear-coated car you are working a sacrificial layer; on single-stage paint you are working the color itself, with nothing beneath it but primer.
Stop when the defects you set out to remove are gone, or when further passes stop making a visible difference. Do not chase every last scratch.
Protect Immediately After Correction
Freshly polished single-stage paint is at its most vulnerable, polishing removes the oxidized top layer and leaves fresh pigment exposed. Apply wax, a sealant, or a coating as soon as the panel is wiped down and inspected, before it sees dust, moisture, or UV. On a stored classic, a durable sealant or coating beats a show wax because it holds up through months of storage.
Paint Correction vs Ceramic Coating: What Each One Does
Paint correction and ceramic coating solve two different problems. Correction fixes the paint. A coating protects it.
Correction removes swirl marks, hazing, and light scratches to restore clarity; a ceramic coating adds a hard, slick layer that makes the car easier to clean and shields it from the elements.
One does not replace the other. A coating applied over uncorrected paint locks in the flaws.
At Armored Inc., we treat correction as the prep step and coating as the finish. Our ceramic coating service is built on proper surface prep, because a coating can only look as good as the paint beneath it.
Barrie and Simcoe County Conditions That Affect Classic Car Paint
Barrie and Simcoe County swing from humid summers to road salt and freeze-thaw winters, and those cycles are hard on paint. Summer sun and humidity speed up oxidation; winter salt and grit cause stone chips and surface damage; cars stored over winter can develop moisture problems if the space is not kept dry.
A few local habits help:
- Wash off road salt as soon as the season ends
- Store classics in a dry, ventilated space
- Keep a protective layer on the paint year-round
If your car sits for months, protection matters more, not less. A sealed finish resists moisture and grime far better than bare paint.
DIY or Professional? A Decision Guide for Classic Car Owners
The right call depends on your paint, your tools, and your tolerance for risk.
- Go DIY if: the paint is clear-coated, defects are light, you have a dual-action polisher, and you are willing to practice on a test spot first.
- Go professional if: the paint is single-stage, original, thin, or showing cracks, or if the car is valuable and irreplaceable.
- Get an assessment if: you are unsure what type of paint you have.
For a numbers-matching classic, a professional assessment is cheap insurance. A botched polish on original paint cannot be undone.
If you would rather hand the work to trained hands, Armored Inc. offers professional paint correction and paint protection film for classics in Barrie and the surrounding area. We also offer mobile service and valet options to make it convenient.
Frequently Asked Questions
Can you safely polish original paint on a classic car?
Yes, but only after a proper assessment. Original paint is often thinner than a respray and may be single-stage, so a detailer should measure paint thickness, inspect for cracking or lifting, and run a test spot before committing. Safe paint correction removes the smallest amount of material needed to restore clarity. If the finish is too thin or fragile, a preservation-focused approach such as gentle cleaning and a protective coating is the better choice.
How is paint correction different from waxing or ceramic coating?
Paint correction is an abrasive process that removes surface defects like swirl marks, oxidation, and light scratches to restore gloss and clarity. Wax and ceramic coatings are protective layers applied on top of the paint; they do not remove defects. In a paint correction vs ceramic coating comparison, correction fixes the finish and coating protects it afterward. Many owners do both, correcting first so the coating locks in a clearer, glossier surface.
Can paint correction damage thin or single-stage paint?
It can if the process is too aggressive. Single-stage paint has no clear coat, so every polishing pass removes pigment along with the defect. Thin original paint leaves little margin for error. A careful paint correction process includes paint thickness readings, a test spot, and the least aggressive pad and polish combination that works. When measurements show the paint is near its limit, a professional should stop and recommend preservation rather than chase a perfect finish.
Should you apply a ceramic coating after correcting classic car paint?
Yes, once the paint is corrected and fully cleaned, a ceramic coating helps protect the fresh finish from UV, water spots, and contaminants. For classics that are stored or driven seasonally in Ontario, a coating also makes maintenance washes easier. Choose a coating suited to the paint type and expected use. Armored Inc. offers ceramic coating services in Barrie and can advise on the right option after assessing your car's finish.
Paint correction can transform a tired classic, but it carries real risk on old, thin, or original finishes. The smart approach is to assess first, test small, and protect the result. Armored Inc. brings professional ceramic coatings, paint protection film, and careful surface prep to every classic we handle, with mobile service and valet options built around your schedule. Get started with Armored Inc. and give your classic the finish it deserves, protected for the road ahead.